The Essential Steps in Roof Replacement: From Inspection to Installation
January , 2024 | 17 min. read
By Kevin Mills
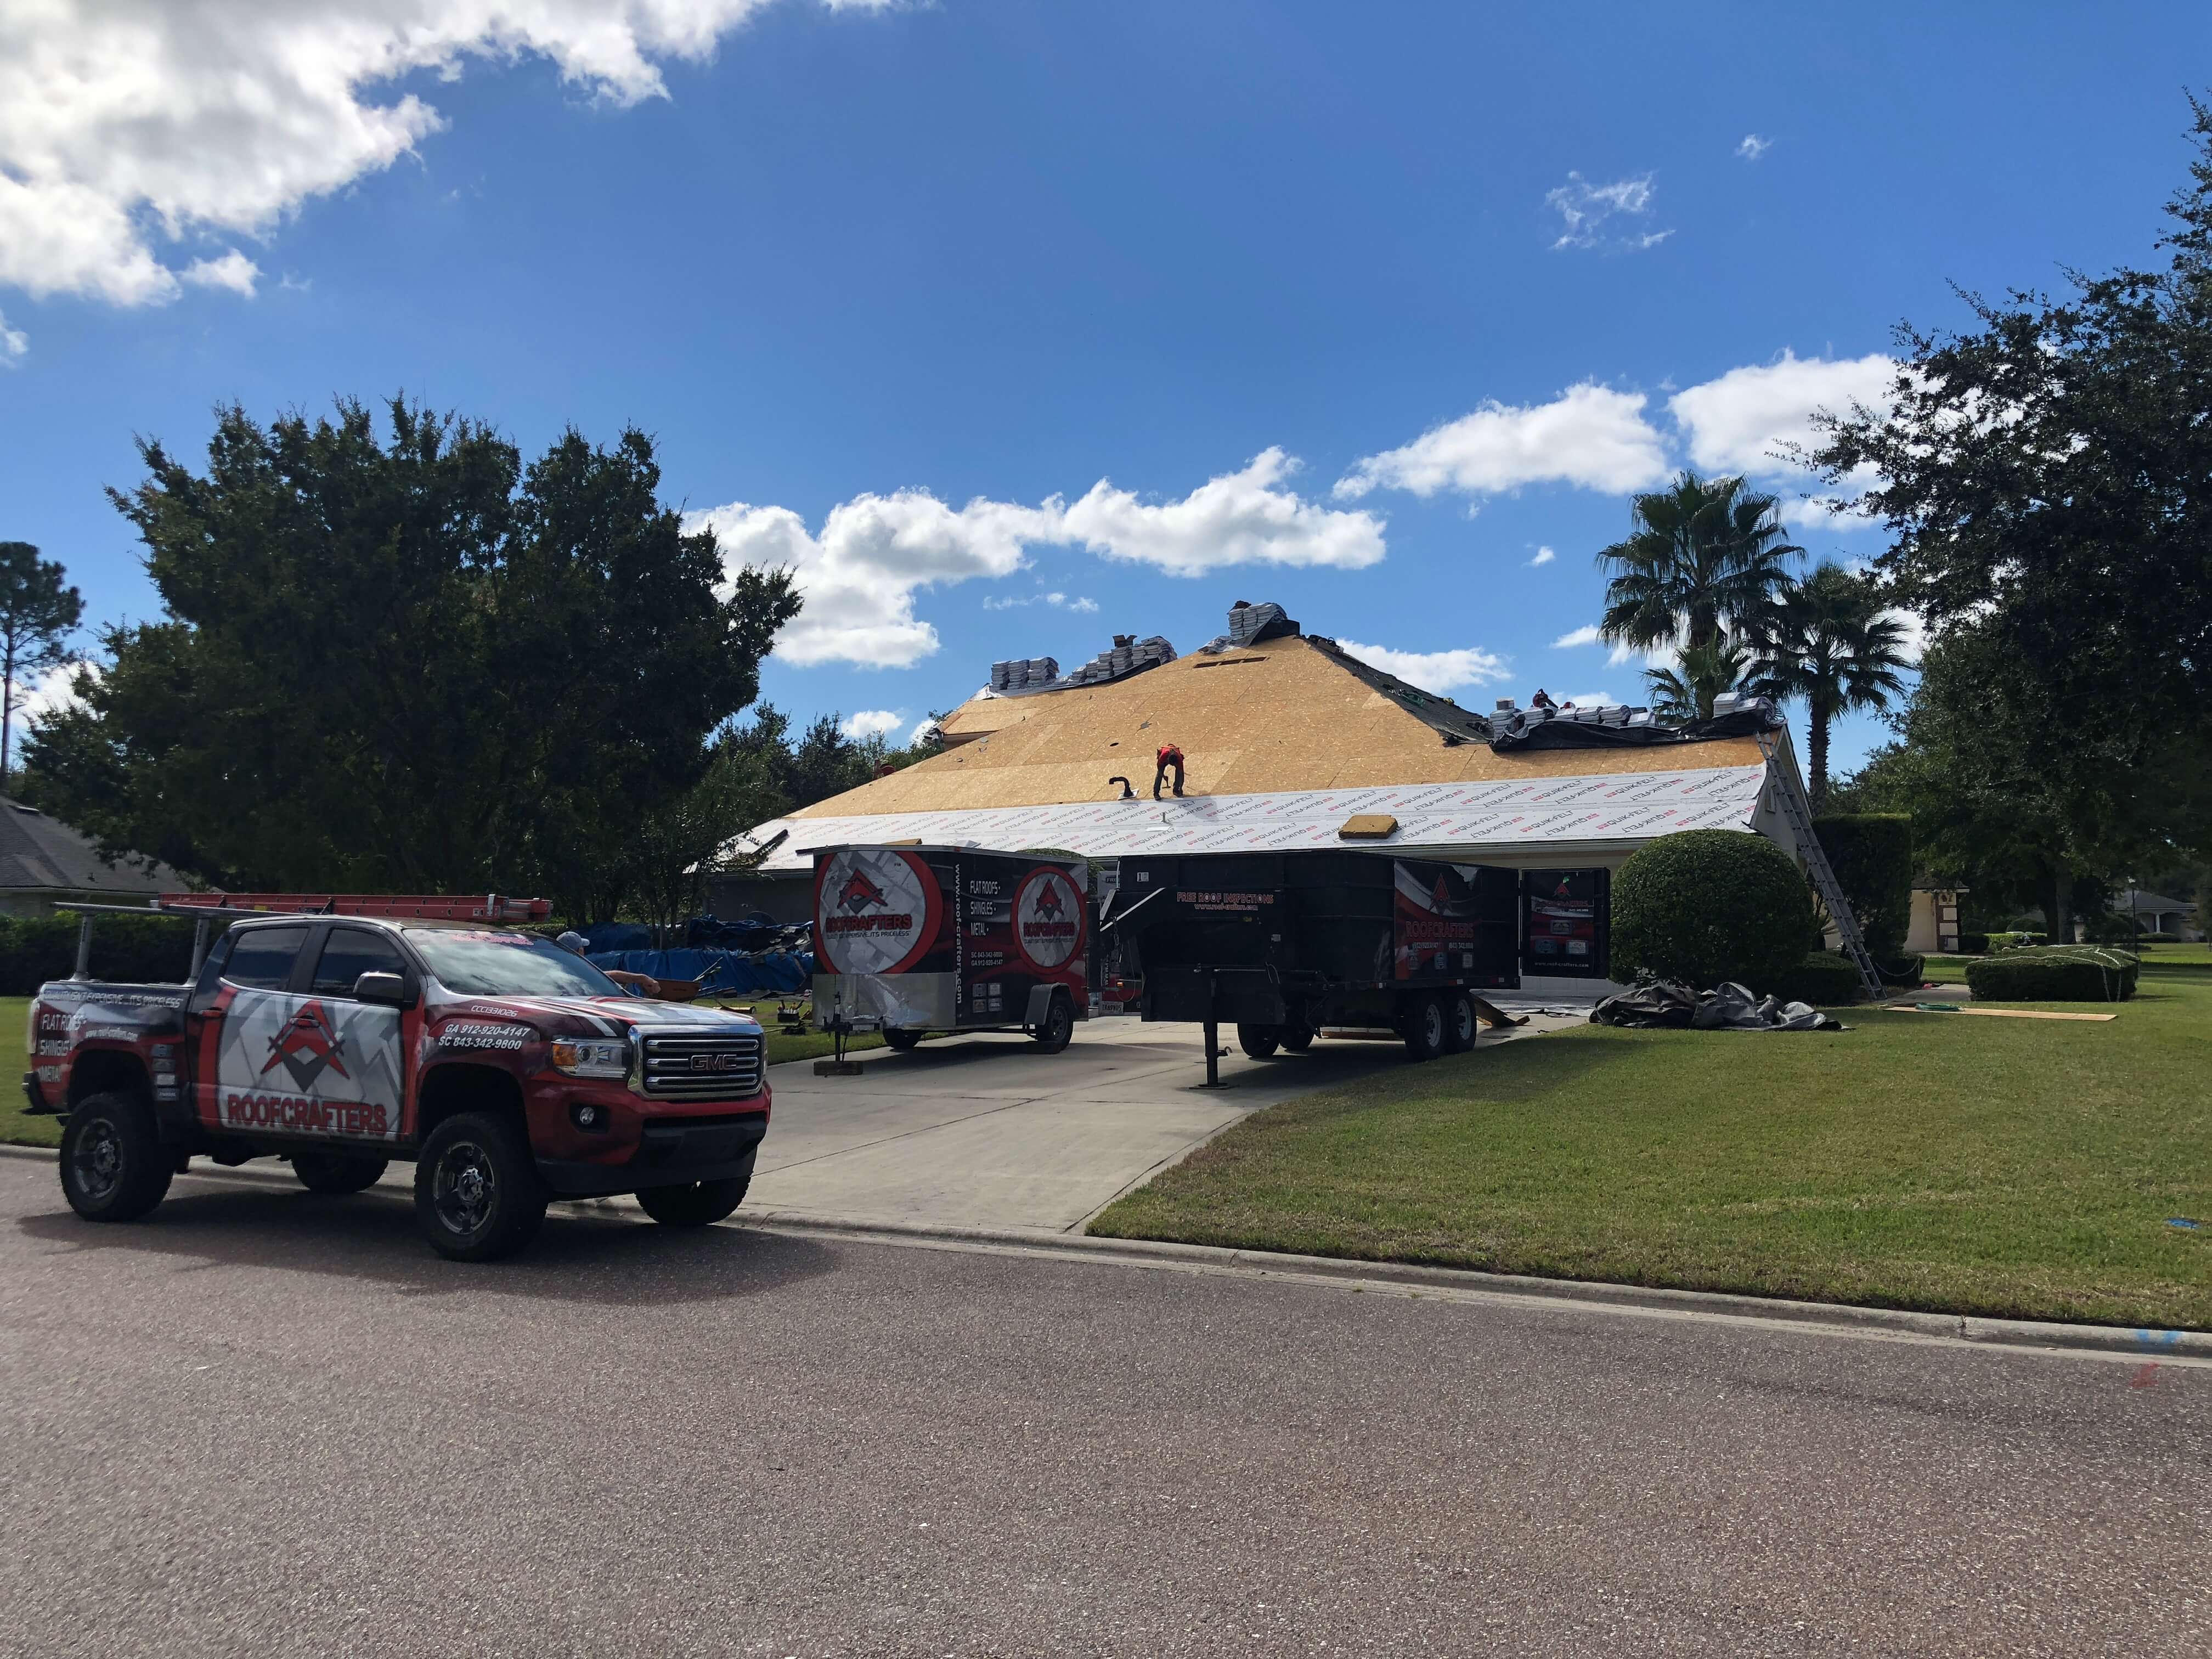
Hey there! Considering a roof replacement for your home? You're in the right place. It's a big decision, and I get that.
You're not just investing in a few shingles and nails; you're investing in the safety and comfort of your home for years to come. We know a roof is a major investment, and getting a high-quality new roof is something that should last you a long while. That peace of mind? Priceless.
Now, we feel like we've seen it all in our 30 years in the roofing business. Some contractors might try to breeze through the job, not focusing on the finer details that matter. But here's the thing – those details? They're what make a roof last. The day your new roof starts to take shape is a day you won’t forget. To stand the test of time, we must do it right.
Let's talk about what goes into a roof replacement. From the initial inspection right through to the final nail, every step is crucial. For three decades, our team at RoofCrafters has been guiding families like yours through this process. We take pride in our work and want to share that experience with you.
So, our promise to you is that by the end of this article, you'll have a clear picture of what to expect and feel more confident about your roof replacement project.
We’ll cover:
- Roof replacement inspections
- What is a roof tear-off
- 9 steps to getting a roof replacement
Ready to dive in? Let’s get started!
The Critical Role of Roof Replacement Inspections
Picture this: your contractor steps into your attic, flashlight in hand. They're not only checking for leaks or cracks; they're on a mission to make sure your attic's ventilation is up to par. Why does this matter, you ask? Well, proper attic ventilation is a big deal. It can impact everything from your roof's lifespan to your home's energy efficiency.
But the inspection doesn't stop there. Next up, they're on top of your roof, examining every inch of it. This isn't a quick glance-over. They're checking the flashings. Those important roof components that keep water from sneaking into places it shouldn't. Trust me, the last thing you want is a surprise leak after all is said and done.
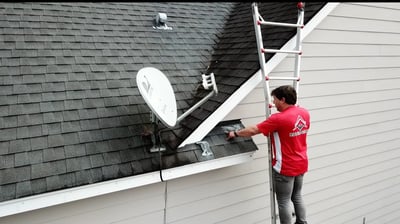
Here's the deal. A thorough roof inspection is your first line of defense against unforeseen costs and headaches down the road. Skimp on this, and you might find yourself dealing with costly change orders. The worst case is unexpected issues popping up after the job's done. So, let's get it right from the start, shall we?
Key Steps in Your Roof Replacement Inspection Process
Alright, so what happens during the inspection? Depending on the property and what you want it may vary. But most are the same steps.
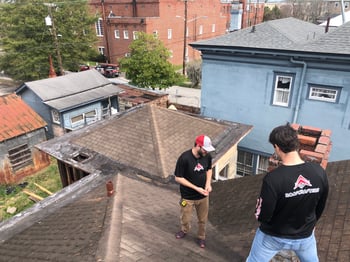
Here's what you can expect your contractor to do during their inspections:
- Visual inspection
- Structural inspection
- Material inspection
- Take photos
- Take measurements
Roof replacement inspections are incredibly important to help us determine what your new roof will cost.
Visual Inspection
Your contractor will start with a visual inspection. They'll walk around the property looking for signs of damage from the ground. One of the things they'll need to pay close attention to as they walk around the property is rotted or water-damaged fascia and soffits.
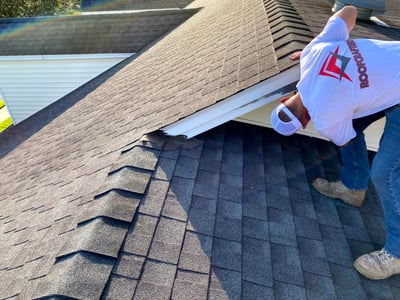
They'll be looking at the landscaping, outdoor furniture, and any decks that will need to be protected during the roof replacement. Your contractor needs to know what needs to be protected so that your property doesn’t get damaged during the roof replacement.
Structural Inspection
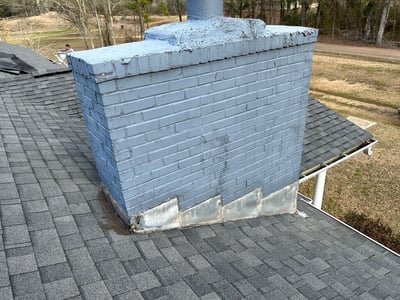
During the structural inspection, your contractor will enter your attic and walk the top of your roof. During this part of the inspection, they’ll check for signs of sagging and uneven roof planes. In addition to this, they’ll examine the condition of your gutter systems. If you have a masonry chimney, this will be inspected now and thoroughly checked for cracks, and crumbling grout.
While in the attic, your contractor will check for proper venting. If the vent system is operating improperly, this can cause moisture and heat to build up, which in turn will decrease the lifespan of your roof. Why does proper ventilation matter?
Material Inspection
During the material inspection, your contractor is going to walk your roof and look for any loose, rusted, or damaged flashing. If your roof has any Skylights or mechanical pipes they will check the condition of those to ensure they are in good shape.
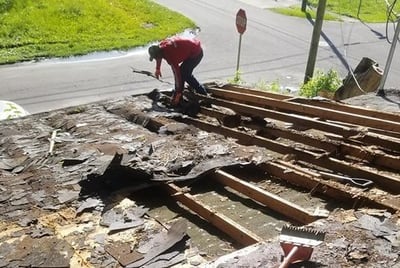
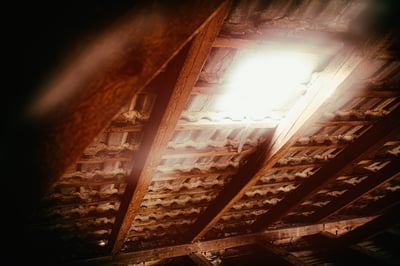
Again, they’ll check to make sure the roof has adequate ventilation. Poor ventilation is one of the main reasons roof materials fail early. It can cause your attic to condensate which can cause mold and dry rot to the wood decking as shown above.
Take Photos
Your contractor should document everything at the property for your protection. The photos should include the driveway and all the landscaping, decks, and handrails around the property. Your contractor will also take photos of chimneys, skylights, pipe flashings, and all roof-to-wall details. Having these before and after photos will help everyone feel secure.
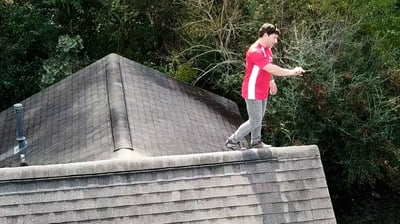
They can also help when it’s time to renew your insurance policy or should ever need to make a storm damage claim. A reputable contractor will use software to house all the information about your roof, including photos.
Take Measurements
Last but not least comes taking all the field measurements on the roof. Any thorough contractor will measure your roof along with all the components that are needed for your roof replacements. Most contractors order a satellite report to confirm the field measurements.

If your contractor sees bad flashing around your vent pipes, chimney, or skylights, this needs to be measured and added to the estimate. If not, this could mean that you’re at risk for future expenses or change orders due to poor estimating.
What Is a Roof Tear-Off?
A roof tear-off is the complete removal of all the old roofing materials on your roof. During the tear-off, your roofing contractor will remove all the old roofing materials. Tearing off the roof section-by-section to prepare for your new roof installation.
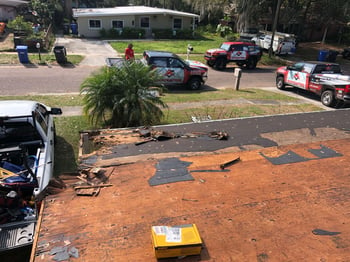
The tear-off process allows the roofing contractor to see the condition of the wood decking and determine if any wood is rotten. Damaged wood decking needs to be replaced before installing your new roof.
Why Are Roof Tear-Offs Important?
If you are asking, "Do I need my roof torn off?" Your new roof will only be as good as the wood decking. The new roof gets fastened to the wood decking. Going over an old roof is not the best option.
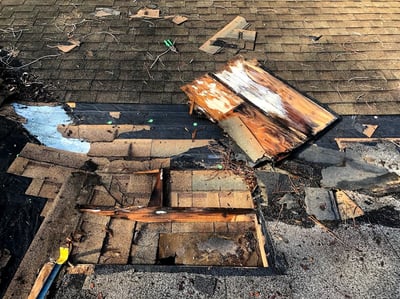
If the decking has any bad spots, the new roof would be compromised. Giving it a much greater chance of blowing off during any heavy winds in a storm. Plus it can attract termites and grow mold!
Understanding the Roof Tear-Off ProcessUnderstanding the Roof Tear-Off Process
Fair warning, the tear-off process of your roofing project can get pretty messy depending on how close the dumpster can be placed to your home. The pitch or steepness of your roof will make it more difficult to throw the old roof directly into the dump from your roof.
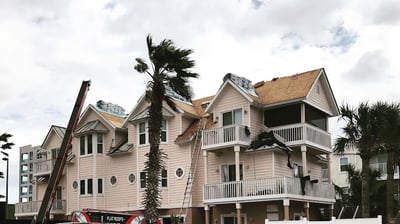
Your roofing contractor's job is to make sure the job site is safe at all times. They’ll tear off the old roof, haul the old debris off your property, and properly dispose of the old roofing materials. It’s a tough and messy job! But it will be cleaned up and hauled off at the end.
1. Making the Job Site Safe During the Tear-Off
One of the most important jobs your contractor has is to make sure you and everyone on your property are safe. This requires setting your job site up with the correct safety equipment.
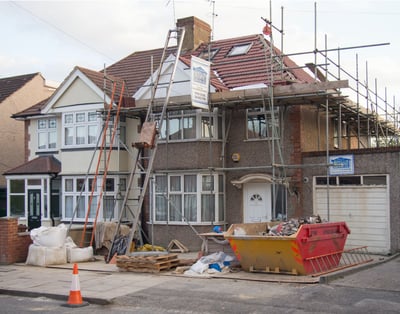
Their main priority is to make sure no one gets injured on your property. At the same time, they have to make sure your property does not get destroyed during the tear-off process.
2. Tearing Off Your Old Roof
The roofing crew will use special tools designed to pry up the old roofing materials. The two most common tools are spades and pitchforks. The roofers will go over your existing roof with one of these tools. They’ll remove the old materials section by section to prepare the decking for your new roof.
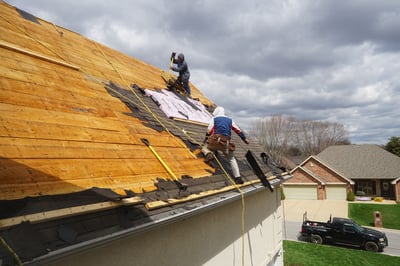
The tear-off will also include removing the old components. Some of the components included are:
- Wood decking
- Underlayment (Organic and synthetic roof underlayment)
- Ice and water shield
- Eave drip flashing (roof drip edge flashing)
- Pipe vent flashing
- Mechanical vent flashings
- Roof-to-wall, chimney, or skylight flashing
- Ventilation
3. Removing and Hauling Off Your Old Roofing Materials
The last and one of the most important parts of the tear-off process is hauling off and disposal of your old roofing materials. Your local contractor will be responsible for providing the waste container. They’ll haul it off your property once all the old roofing materials have been thrown in the dumpster. 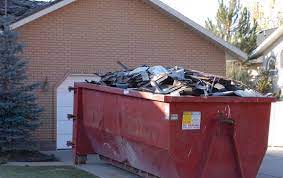
Some materials require special dumping procedures that are regulated by the Environmental Protection Agency. Depending on the type of roofing materials that need to be disposed of. Your contractor may need to haul the waste to a special dump that handles hazardous debris.
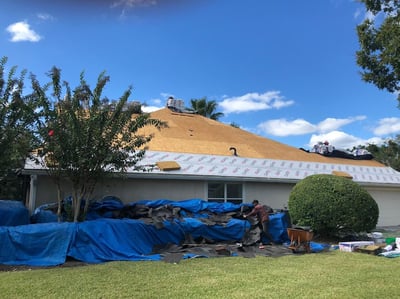
The tear-off portion of your roof project is critical. As you can tell by now, it sets up the remaining portion of your roof replacement. Once the old is gone, you're ready for the new!
Final Steps of Getting a New Roof Replacement
Now that you know all the important information surrounding the roof replacement. You can use that to your advantage when deciding how you'd like to proceed.
Related Article: When is the best time of year to do a roof replacement?
The Comprehensive 9-Step Roof Replacement Guide
Embarking on a roof replacement project can seem overwhelming. To help you understand what to expect, we've outlined a clear, step-by-step guide, covering each stage of the process from start to finish.
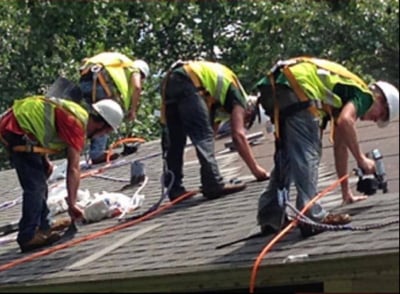
The remaining steps are as important as the inspection and the tear-off. We've broken it down into 9 easy steps for you. That way you'll know what to expect once you choose the contractor for your upcoming roof replacement project.
1. Acquiring all required permits before starting
2. Getting things moved to set up the job site
3. Setting up safety and protection for your property
4. Tearing off your old roof
5. New roof material gets delivered
6. New roof gets installed
7. Clean up after the roof replacement
8. Dump removal
9. Inspecting the workmanship
Now that you’ve learned about residential roof replacements. You should be feeling confident with your upcoming home improvement project.
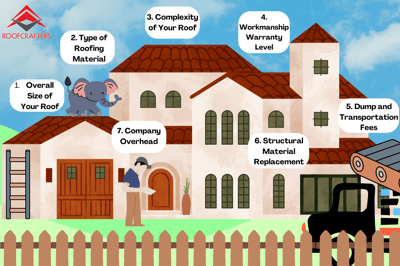
You know what to expect in 9 steps, and you get to sit back and watch it all come together. Not so bad after all, right? What about the elephant on the roof?

Ahhh, to get a better idea of costs, here is a short video that we put together, to discuss the average cost of a tear-off and roof replacement.
Ready to Begin Your Roof Replacement Adventure?
As you stand on the threshold of your roof replacement journey. It's important to arm yourself with the right information and the ideal roofing partner. Your roof is more than shelter; it's a long-term investment in your home's safety, efficiency, and looks.
Finding Your Perfect Roofing Ally
Choosing the right roofing contractor is pivotal. It's more than skill – it's about finding a team that resonates with your vision and values. To assist you in this quest, RoofCrafters offers a comprehensive checklist. This valuable resource is packed with essential questions to ask potential contractors and the insightful answers you should expect. Download our free checklist to ensure you make an informed, confident choice.
Initiate Your Roofing Project Today
If you live in South Carolina, Georgia, or Florida, take the first step towards a durable, beautiful new roof by scheduling an inspection with us. Our team at RoofCrafters is ready to guide you through every step of your roof replacement project. We will ensure a seamless and satisfying experience.
Deepen Your Roofing Knowledge
Eager to learn more about the process? Dive into our informative resources for a deeper understanding of roof replacement. We recommend starting with our enlightening article, "How to pick the best color roof for my roof replacement?" where you'll discover more about what to expect and how to prepare for your upcoming project. Or visit our learning center below.
Your Roof, Our Craftsmanship
At RoofCrafters, we're not only replacing roofs; we're building peace of mind. Let's embark on this journey together, creating a safe and stylish haven for you and your loved ones.
My name is Kevin Mills, and I am the lead estimator for RoofCrafters’ Tampa division. I’m originally from Michigan, and I enjoy hunting, fishing, and spending any free time outdoors. What I’m most passionate about, though, is helping business owners and homeowners alike achieve their roofing goals, all while providing a seamless customer journey.


